Cape Coral New Construction HVAC Walkthrough Checklist
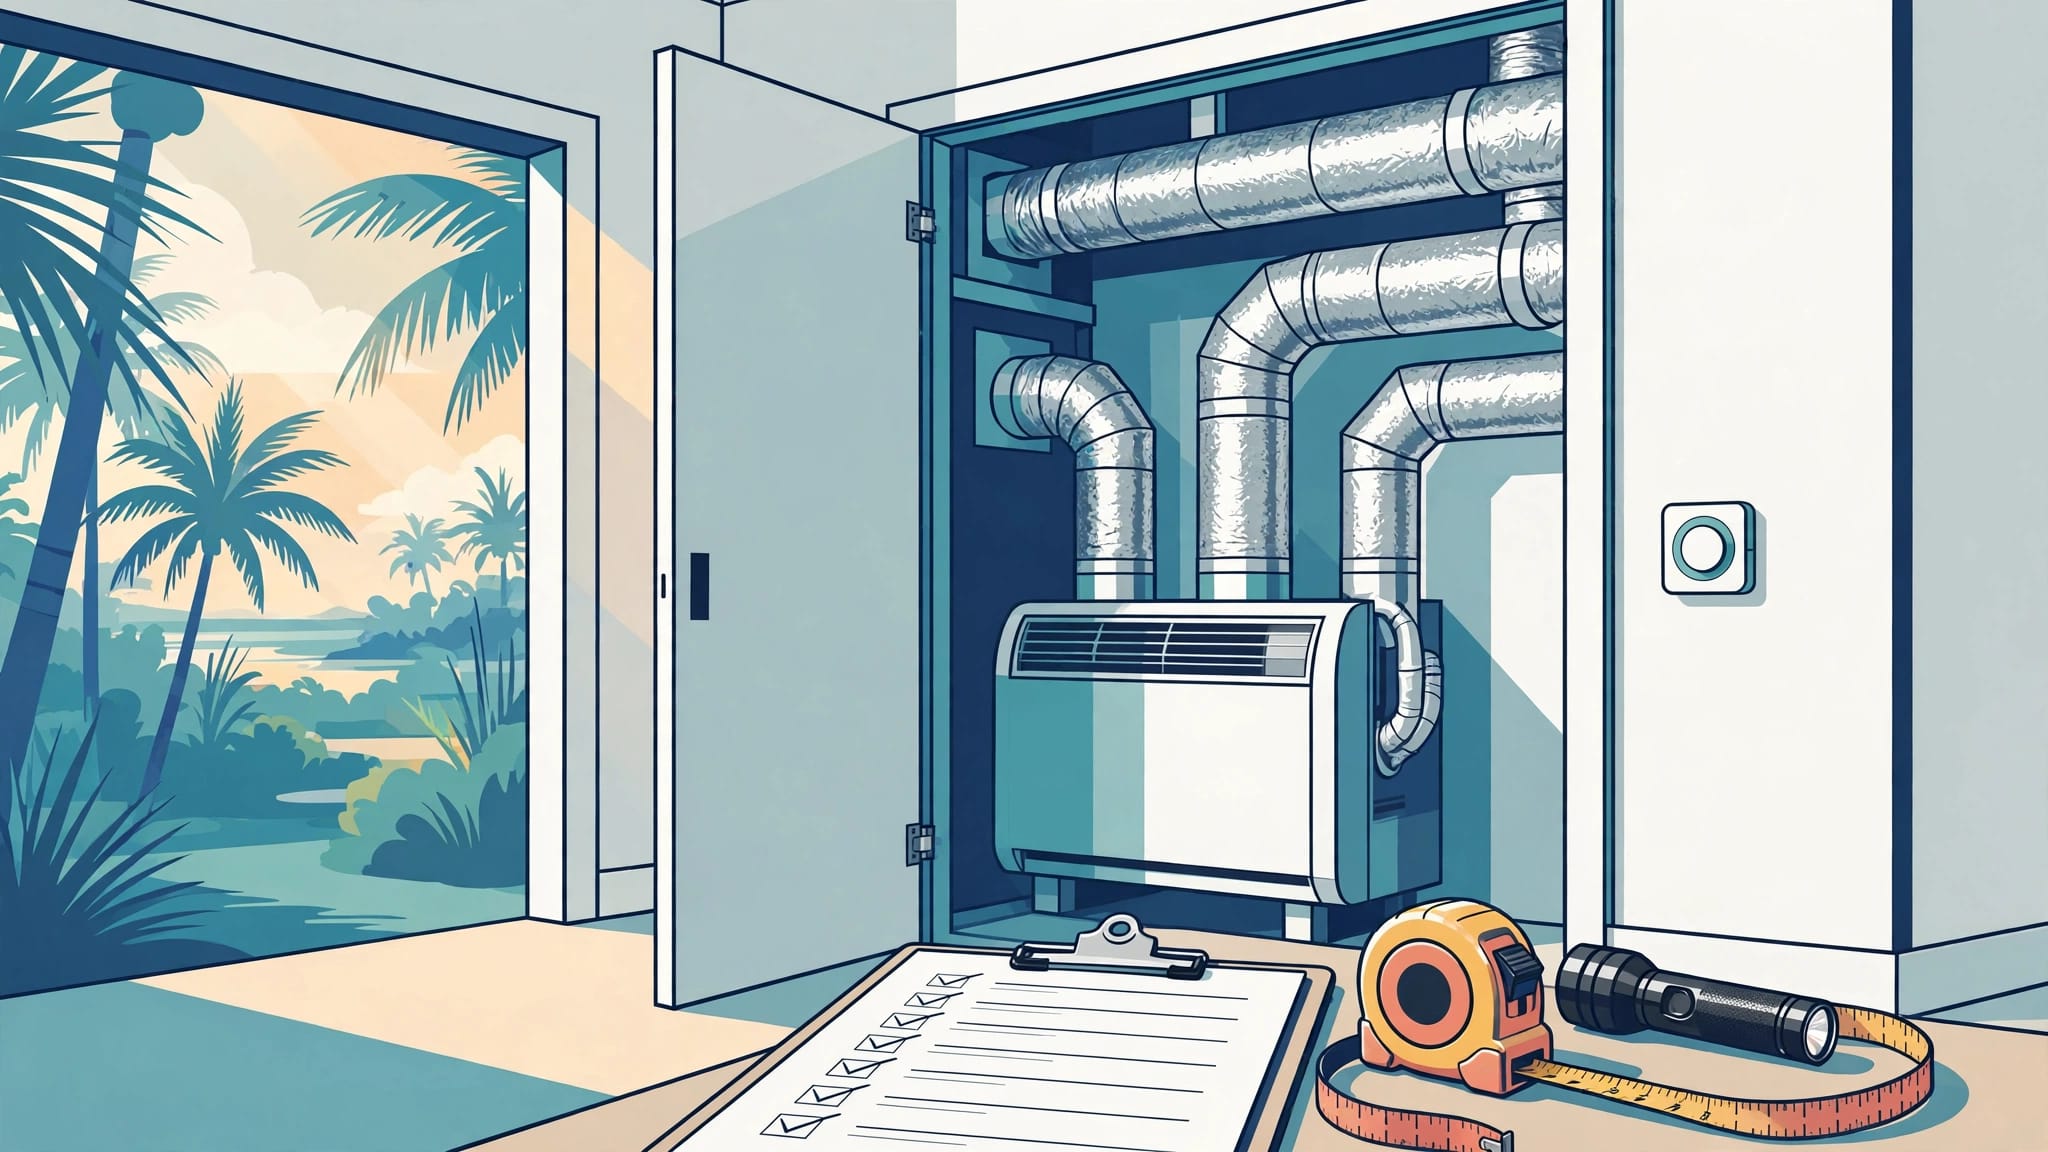
A beautiful new home can still hide an HVAC problem behind fresh drywall and clean vents. Your HVAC walkthrough checklist gives you a practical way to spot installation issues before closing, when the builder can still correct them.
Cape Coral's heat, humidity, salt air, and storm exposure put a new air-conditioning system to work quickly. Take this checklist to your final walkthrough, ask for documentation, and write down anything that doesn't look or operate right.
Start Your HVAC Walkthrough Checklist With Design Records
Florida's current building-code baseline is the 8th Edition (2023) Florida Building Code for permits filed from January 1, 2024 forward. Your builder should have records that show the system was designed for your actual home, not selected by square footage alone.
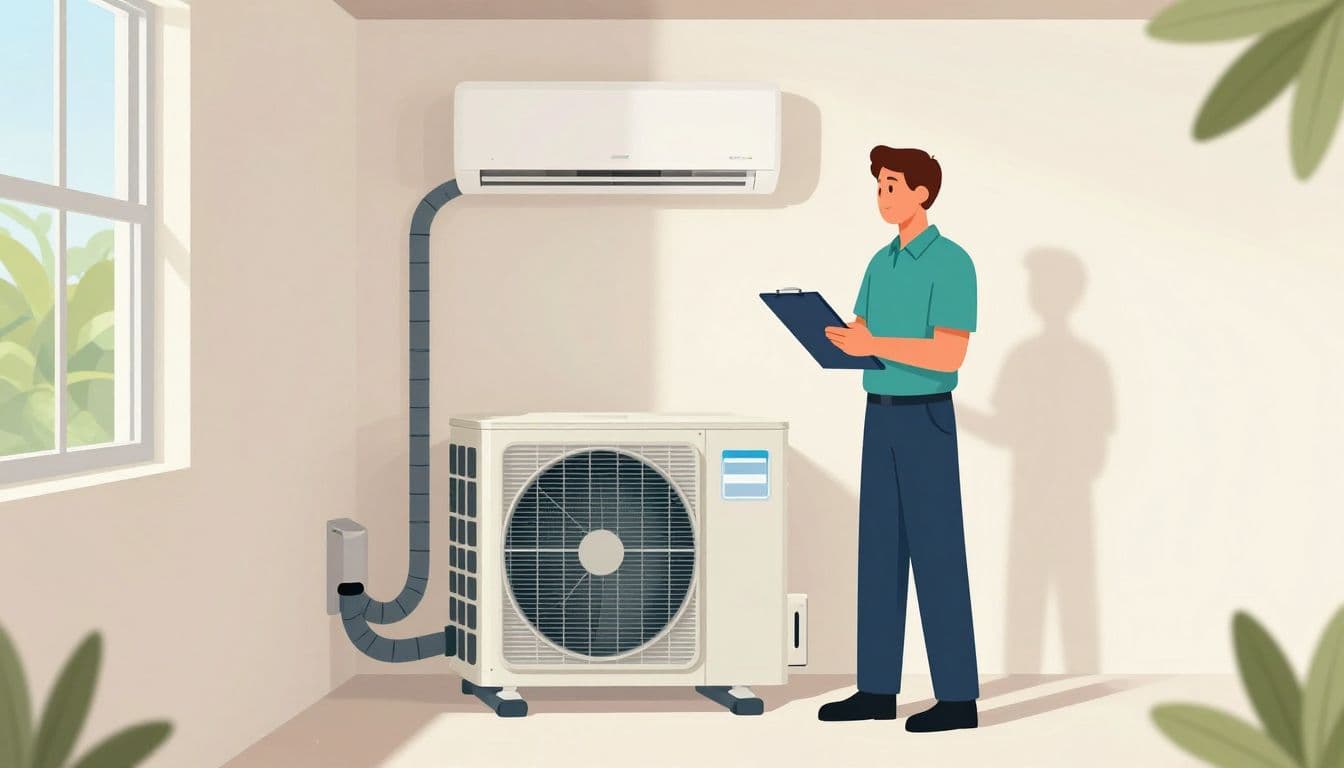
Confirm that system sizing came from a load calculation
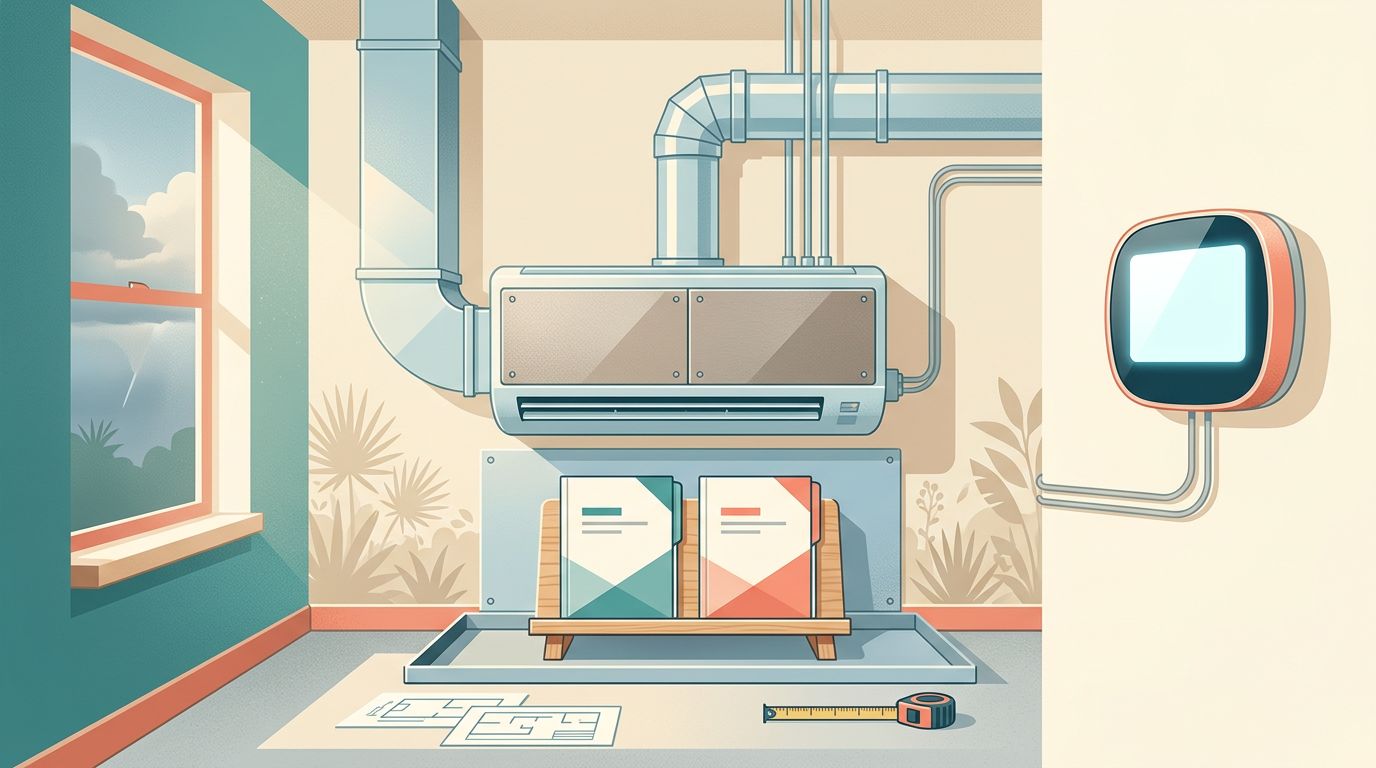
- Ask for the home's Manual J load calculation, Manual S equipment selection, and Manual D duct design. These documents match the equipment and duct layout to the home's design.
- Compare the model numbers on the paperwork with the air handler and outdoor condenser. They should match exactly.
- Check the listed capacity, usually measured in tons or BTUs. Don't assume a larger unit is better.
Oversized equipment cools too quickly, then shuts off before removing enough moisture. That short cycling can leave a new Cape Coral home cool but clammy. A right-sized system runs long enough to control both temperature and humidity.
Verify permits and final inspections
- Request copies of the HVAC permit, final inspection approval, and any corrected inspection notices.
- Verify the permit status through the official City of Cape Coral or Lee County building-record system before closing.
- Ask whether the final inspection included required duct testing and energy-calculation documents.
A passed final inspection matters, but it doesn't replace a careful buyer walkthrough. Treat it as one important record in your file.
Check Supply Vents, Return Air, and Ductwork
Air has to travel through the home and back to the system without major restrictions. A polished vent cover can't tell you whether the duct behind it is sealed, supported, or properly sized.
Look for balanced airflow in every room
- Turn the system on and stand beneath every supply vent. You should feel a steady flow of cooled air, not a weak trickle.
- Find the return grilles and confirm that furniture, doors, or cabinetry won't block them after move-in.
- Open and close bedroom doors. Rooms should still have a route for return air through transfer grilles, jump ducts, or adequate door undercuts.
- Check rooms with heavy sun exposure, large sliding doors, and west-facing windows. These areas often reveal comfort problems first.
A closed bedroom door can create pressure differences if the room lacks a return-air path. That can reduce airflow and make one room warmer than the rest.
Inspect ducts where you can safely see them
- Look in the attic, garage, or accessible chases for crushed, sagging, disconnected, or sharply bent flex ducts.
- Check that duct joints and connections use proper mechanical fastening and mastic or approved sealing material, not loose tape alone.
- Confirm that attic ducts have continuous insulation and that insulation isn't compressed or torn.
- Ask for duct-leakage test results if they aren't included in the closing packet.
Leaky attic ducts waste cooled air in one of the hottest spaces around the house. If you see loose ducts, exposed inner liner, or heavy condensation, add it to the builder punch list. A Cape Coral ductwork inspection and sealing service can identify problems that aren't visible from a vent grille.
Inspect the Air Handler, Filter, and Drain Protection
Most new Cape Coral homes place the air handler in a utility closet, garage, attic, or conditioned storage area. It should be easy for a technician to service without damaging walls, flooring, or nearby belongings.
Check access and filter placement
- Confirm that the air-handler door and electrical disconnect are accessible.
- Verify that the filter slot has a snug cover or door, with no gap that lets unfiltered air bypass the filter.
- Ask the builder to show you the correct filter size, MERV rating, and replacement direction.
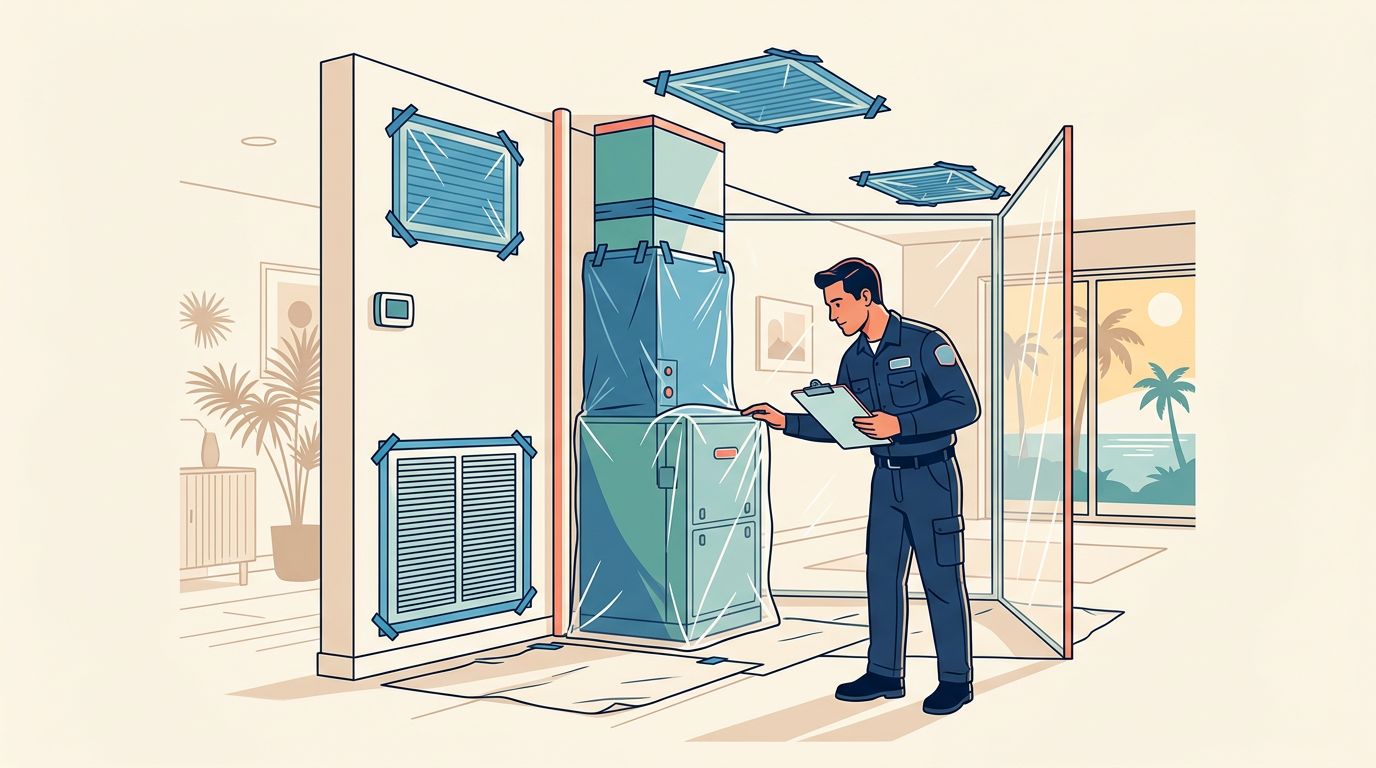
- Make sure the installed filter is clean. Construction dust can clog a filter before you unpack a single box.
A high-MERV filter isn't automatically the right choice. Use the filter rating recommended for the installed system, because overly restrictive filters can reduce airflow.
Follow the condensate drain path
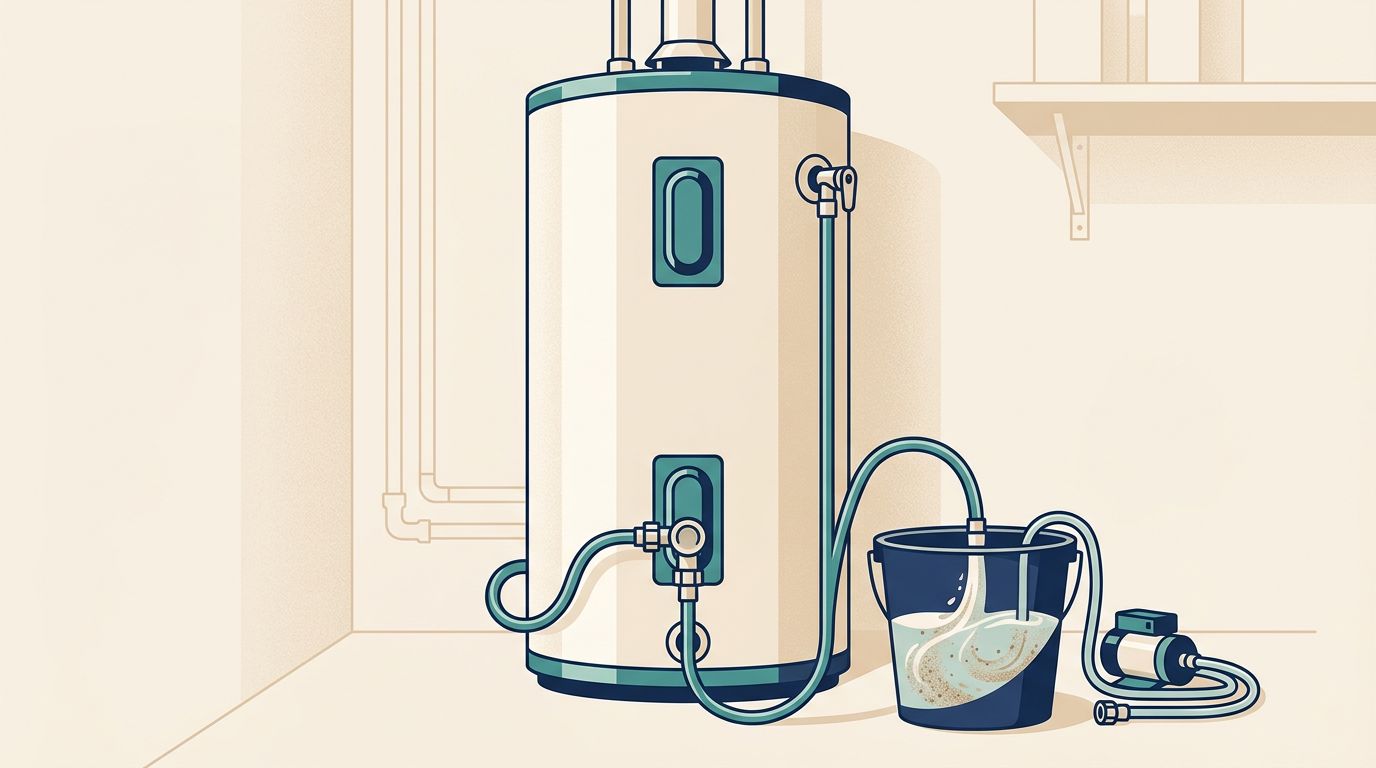
- Locate the primary condensate drain and ask where it discharges outdoors or into an approved receptor.
- Confirm the drain line has visible support, proper slope, and a serviceable cleanout where applicable.
- Look for a secondary drain pan or overflow path when the air handler sits above finished areas.
- Ask the builder to demonstrate the float switch or other overflow safety shutoff, if installed.
Florida code does not allow a condensate drain to connect directly to plumbing drain, waste, or vent piping. A drain issue can damage ceilings or cabinets long before the thermostat shows a problem. Learn the early signs of a clogged AC drain line so you can act before water spreads.
A float switch can stop the cooling system when water backs up, but it cannot clear the clog. Treat a shutoff event as a service call, not a thermostat issue.
Examine the Outdoor Condenser for Coastal Exposure
The outdoor condenser or heat pump needs breathing room, stable support, and protection from Cape Coral's wet season. Take a few minutes to walk around it rather than viewing it from the driveway.
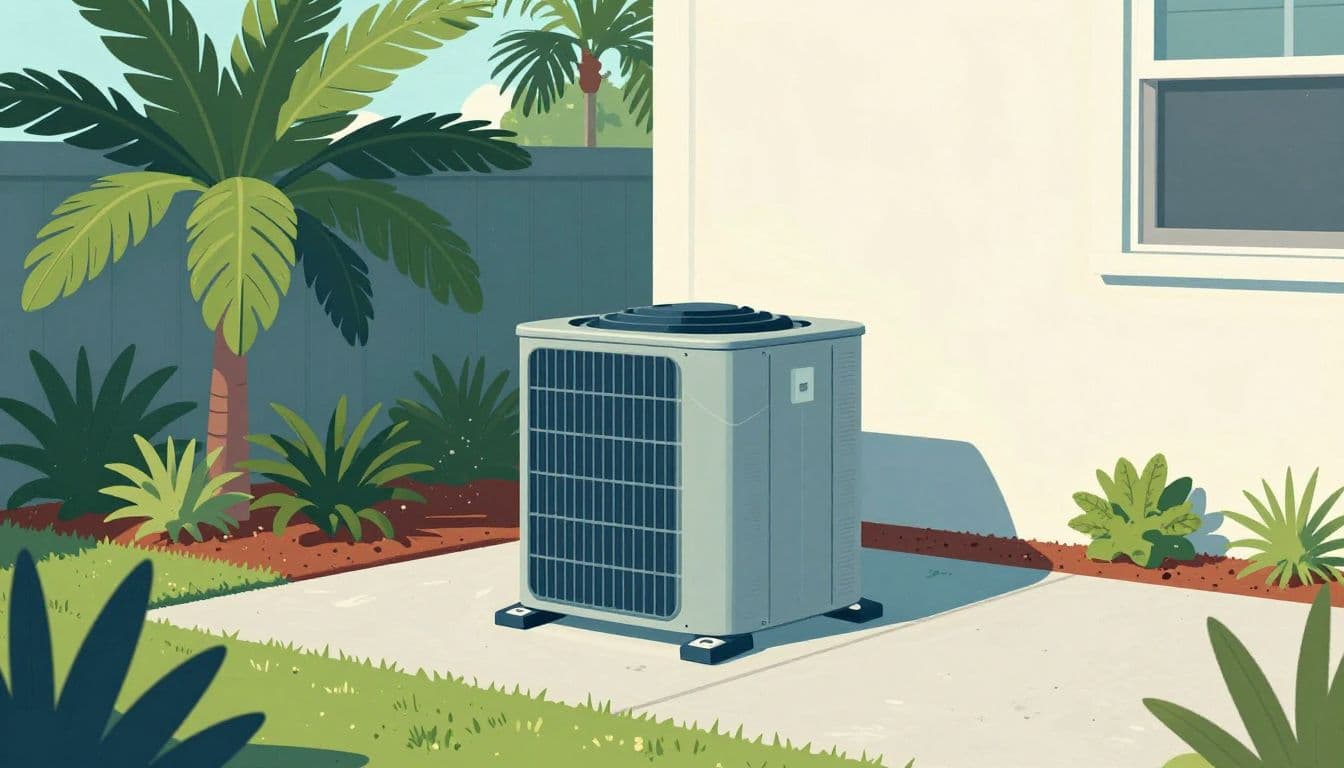
Check clearance, drainage, and line protection
- Confirm that shrubs, fencing, and mulch leave the manufacturer's required open space around the unit.
- Check that the condenser sits level on a stable pad or approved stand and isn't in a low spot that holds water.
- Inspect the refrigerant line set. Insulation should be intact, and the line should have protection where it enters the wall.
- Look for sealed wall penetrations and a tidy electrical disconnect near the unit.
Keep future landscaping away from the coil. Dense hedges can trap heat around the unit, force longer run times, and make routine service harder.
Ask about salt air and storm mounting
- Ask whether exterior fasteners, anchors, and brackets are corrosion-resistant for a coastal environment.
- Confirm that the outdoor unit is anchored according to the approved plans and manufacturer instructions.
- Ask how the builder handled wind exposure, roof runoff, and site drainage around the condenser.
Salt-laden moisture can speed up corrosion on coils and hardware. Regular rinsing and seasonal service help, especially for homes closer to open water or canals.
Test Humidity Control, Thermostat Settings, and Startup
The final walkthrough is your chance to see the whole system run. Don't accept a quick statement that the AC "works." Ask to operate it and stay long enough to notice how it responds.
Run a basic comfort test
- Set the thermostat to cooling mode and lower the target temperature a few degrees.
- Listen for the indoor blower and outdoor condenser to start without grinding, banging, or repeated clicking.
- Check several supply vents after the system runs. Air should feel consistently cooler than room air.
- Verify that the thermostat is level and located away from direct sun, kitchen heat, exterior doors, and supply vents.
- Ask the technician to show the fan setting, scheduling features, humidity display, and emergency heat setting if you have a heat pump.
A good target for most Florida homes is indoor relative humidity around 45% to 55%. Readings that stay higher, especially when the thermostat shows a comfortable temperature, deserve attention. Persistent moisture can point to short cycling, low airflow, duct leakage, or a drainage problem.
Ask for commissioning details
- Request the startup or commissioning sheet with measured refrigerant charge, electrical readings, temperature split, and static-pressure results.
- Verify the equipment's SEER2 rating and, for heat pumps, its HSPF2 rating against the documentation.
- Ask whether the installer checked each zone or room for airflow after startup.
The commissioning record is a snapshot of how the system performed on day one. Keep it with your closing documents, because it gives a future technician a useful baseline. If cycling starts early, compare the symptoms with common Cape Coral short-cycling causes.
Build a Strong Builder Punch List and Warranty File
Photograph anything questionable during the walkthrough, including water stains, loose insulation, damaged line-set covers, and blocked vents. Put concerns in writing before you sign off on the home.
Document repairs and warranty coverage
- List each HVAC issue with its exact location, photo, and date.
- Ask for a written completion date and reinspection after the builder's repair.
- Get the manufacturer warranty documents for the air handler, condenser, thermostat, and any added air-quality equipment.
- Confirm who registers the equipment, when registration must happen, and which serial numbers belong to your home.
- Ask for the installer's labor-warranty terms in writing. Manufacturer parts coverage and contractor labor coverage are separate.
Warranty terms vary by brand, model, and registration status. Don't rely on a verbal promise. Keep the permit, model numbers, startup sheet, warranty registration confirmation, and repair records in one folder.
Questions to ask before closing
Bring these questions to the builder or HVAC contractor:
- "Can you show me the Manual J, Manual S, and Manual D documents for this home?"
- "What was the final duct-leakage test result, and where is that report?"
- "Where do the primary and secondary condensate drains terminate?"
- "How do I test the overflow safety switch, and who handles a drain backup?"
- "What maintenance does this equipment need during the first year?"
- "Which warranty registration steps are still my responsibility?"
Hire an independent licensed HVAC inspector when you see uneven airflow, noisy operation, water around the air handler, exposed ducts, questionable condenser placement, or missing records. It also makes sense when the home has multiple systems, high-end controls, a complex duct layout, or a builder who won't provide design and startup documents. After move-in, regular preventive maintenance for Florida HVAC systems helps protect a new system from drain clogs, coil buildup, and salt-air wear.
A Comfortable Home Starts Before Closing
A thorough HVAC walkthrough checklist protects more than your first summer electric bill. It helps you catch sizing, airflow, drainage, humidity, and installation problems while the builder is still responsible for repairs.
Keep every HVAC record, test the system during your final walkthrough, and insist on written correction of visible issues. A new home should begin with reliable comfort , not a list of avoidable service calls.
Recent Posts